 This Zentangle Project Pack is the sixth in a series Zentangle HQ began in 2017, I’ve included links to all the TanglePatterns Project Pack summaries at the end of this post.
Zentangle co-founders Rick Roberts and Maria Thomas explain the purpose of the “No Mistakes” project:
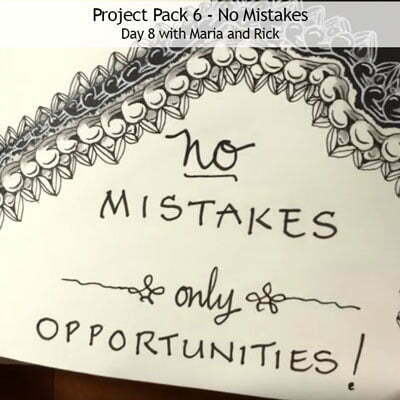
The “No Mistakes” philosophy has been an integral part of the Zentangle Method™ since its beginning.
“No Mistakes” is a mantra we use in our Zentangle practice that allows us to see every line as an opportunity and embrace every mark that is ours as artists. Whether intentional or not, with this perspective, one can learn to see beauty and potential in whatever mark we make and whatever path our artistic journey takes.
This project pack includes a special surprise that is inspired by one specific story in Zentangle history that exemplifies the Zentangle “No Mistakes” philosophy.
This series pulls at the heart strings of the method and allows us to tangle through some stories that really illustrate how the Zentangle Method can change ones perspective and empower the artist within us all.
SUPPLIES: This Project Pack is available here ($26.95) in the zentangle.com store and it’s certainly a convenient way to get all the supplies for the project.
In this case it’s especially worth it to get the unique and lovely Zentangle mini-journal included.
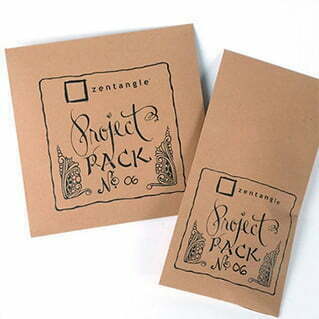
For those whose budgets are tight, you might discover suitable alternatives in your own Zentangle supplies other than the unique mini-journal. It is likely you will probably have to create tiles with black ink-stained edges similar to the mini-journal. Some good quality calligrapher’s black ink and a healthy sized watercolor brush should do the trick.
Some specifics: the Project Pack mini-journal/booklet is 5.5 inches (14 cm) wide by about 4 inches (~10 cm) tall. It is made of a sewn-bound signature composed of 6 sheets of a light uncoated card stock (for a total of 24 pages). The booklet is finished with a fabric cover similar to the Official Kit box in Zentangle’s teal color with an embossed logo. It’s a sweet surprise!
The additional tools included in the Project Pack are:
- Black Sakura Micron 01 and 08 pens
- White Sakura Gelly Roll 08 pen
- Zentangle graphite pencil, made by General Pencil – the half pencils are designed to be held in the palm of your hand to easily angle them for shading
- Zentangle white charcoal pencil, made by General Pencil
- 2 tortillions – one to use for graphite, one to use for white charcoal
The following chronology is a summary of the videos for Project Pack #06 with links to the individual videos. Either click the Day’s title link or the image itself to view the full video on YouTube.
My recommendation is to watch each video through to understand where each is headed, and then rewatch it to tangle along with the lesson, using the pause button as desired.
Introduction
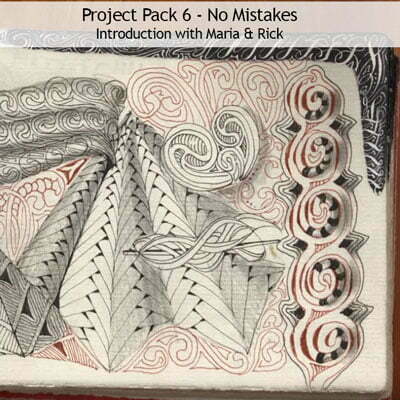
(August 8, 2019) In the introductory video (11:43) for Project Pack #06, Rick and Maria explain the background of the Zentangle Method’s philosophy of “no mistakes” and the inspiration for this Project Pack.
Even if you have absolutely zero interest in the Project Pack series, please take it from me: you will want to watch this flip through video of Maria’s original Zentangle journal. It is breathtaking and inspiring. I even spied tangles in there that haven’t reached us yet and I’ll be watching this video again and again just to admire the creativity.
If you are a Zentangle enthusiast, you will enjoy viewing this video at least once.
Day 1
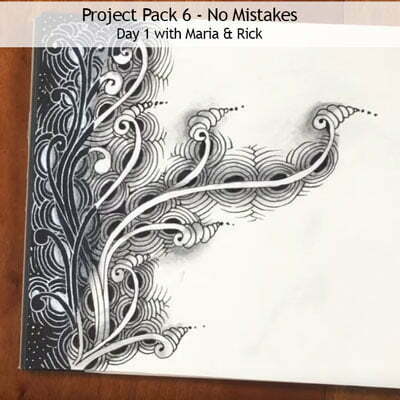
(August 8, 2019) In Lesson 1’s video (15:51), with Rick keeping her company Maria begins by tangling Mooka tendrils with a Sakura Micron 01 in black ink overlapping from the right side (the white side) of the Project Pack mini-journal page into the black printed “ink stain” border on the left of the page.
During the course of the video Maria switches between a white Sakura Gelly Roll to tangle on the black background on the left and the black Sakura Micron 01 to tangle on the white background on the right.
She adds Crescent Moon to the Mooka tendrils, and a little Springkle to ends of the Mookas. Switching between the white Gelly Roll and the black Micron, she adds auras to the Crescent Moon. To finish up Maria adds graphite shading to both the white side and the black side, then she uses a tortillion to smooth the shading for the final result.
We are encouraged to continue to add tangles to the “unfinished” page as we please:
“Most of the pieces that we’re doing will not fill the whole page of the book. We’re mostly working on the black and white parts but we encourage you to fill the rest of the pages after you’re done this part, following along with us. This is just to plant seeds.“
Day 2
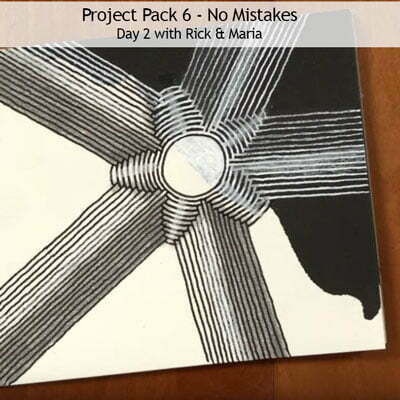
(August 9, 2019) In Lesson 2’s video (11:50), Rick tangles a monotangle of Arukas while Maria keeps him company.
Rick uses a black Sakura Micron 08 to tangle Arukas using a little different technique than the one Maria used in Day 1.
Rick makes the black strokes appear as if they continue inside the black “ink stain” with White Gelly Roll strokes on either side of it. He shades with a regular graphite pencil and lastly adds white charcoal highlights, using tortillions to blend each.
Day 3
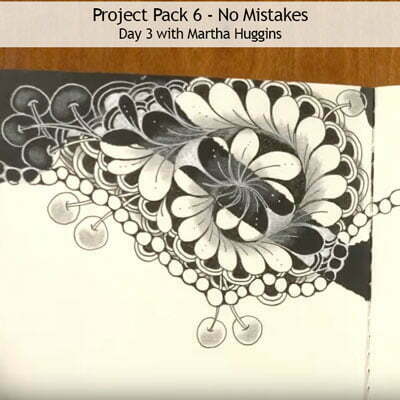
(August 10, 2019) In Day 3’s video (34:09), Maria’s daughter CZT Martha Huggins tangles across a spread adding orbs in a “string of pearls”, changing from black ink on white, to white ink on black.
Martha then adds the tangle enhancement called rounding to the entire string of orbs. This string of orbs serves to break up the page into areas to tangle. Martha cleverly continues the string from one page to the next, beginning the next string where the first one left off on the previous page.
Then she chooses one of the pages and adds a spiral string (11:17) that spans both black and white areas, into which she tangles Flux (12:00).
Once she fills the spiral she goes back in to fill the spaces (15:30) between the Flux shapes, alternating between black and white pens and then embellishing the Flux shapes.
Auras are added to the outer edges (19:49) of Flux creating Crescent Moon-like shapes.
Wandering strands of Pokeroot (21:20) weave out from under the string of pearls and then more Crescent Moon shapes (23:08) are added. At 26:14 she embellishes the tangles with graphite and white charcoal shading.
Wrapping up the video Martha does a flip-through of her mini-journal showing some of the lovely tangling she has already added to it, including continuing her “string of pearls” theme on the cover.
Day 4
(August 11, 2019) In Day 4’s video (34:40) – Maria daughter CZT Molly Hollibaugh begins by reviewing the contents of the PP06 packs.
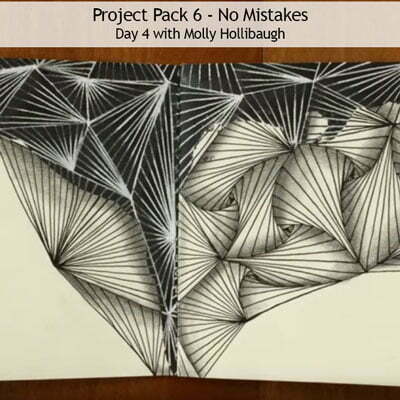
She then explains the background of how her tangle Munchin came about and (4:08) begins to tangle it on her selected page spread. She begins with the White Sakura Gelly roll and tangles Munchin across the black stained area of the spread and then out into the white area using the Black Micron 01.
Once she’s happy with the Munchin she has in place, she begins to add Paradox (16:08) evolving along the edges of Munchin and going back and forth between the black Micron and the White Gelly Roll depending on which part of the page she’s working on.
Finally Molly adds shading (31:14) to both tangles. She finishes up her video sharing another spread she did earlier using the same two tangles, with Munchin morphing into Paradox.
Day 5
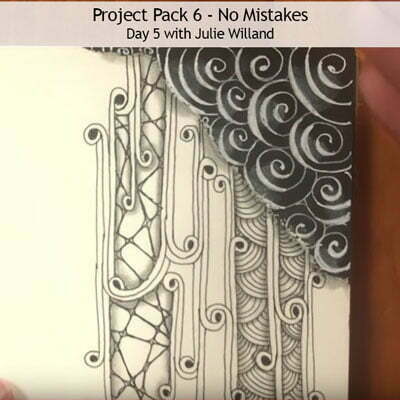
(August 12, 2019) In Day 5’s video (25:22) – Zentangle HQ employee CZT Julie Willand tangles a weighted version of Printemps with an 08 white Sakura Gelly Roll pen. When the black ink stained area is full of Printemps, Julie changes to the black 01 Micron pen (8:31) and adds a simplified Mooka she refers to as Melting Mooka. When she is happy with the Melting Mooka, Julie begins to fill the spaces they have created on the page. She begins with Shattuck (14:40) and then adds ‘Nzeppel (16:39). Finally she adds shading (19:09) and highlights with her graphite and white charcoal pencils.
Day 6
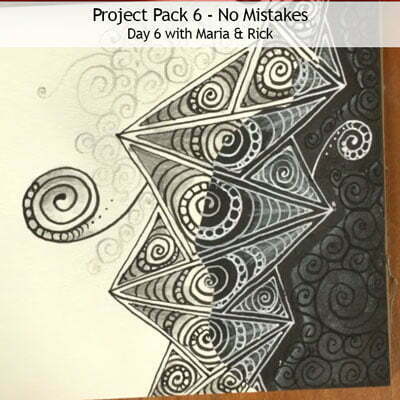
(August 13, 2019) In Day 6’s video (14:32) – Rick keeps Maria company as she tangles Ing, beginning with a black 08 Micron, “I thought I would work with something with straight lines, which is not my character. Anybody who knows me knows I’m a curvy character.“
Maria gives a very clear description of how to tangle Ing as we watch her; “So Ing involves this zigzag line and then after the zigzag line you go to one side of the zigzag and you go from point to center, point to center“. After one side is completed, turn the page upside down and repeat the process on the other side of the zigzag “point to center, point to center“.
Switching to the Micron 01 (2:58), Maria adds auras to the inside of each triangle then changes to the Gelly Roll (3:54) when working on the black background.
Once all the auras are completed (4:21) Maria uses a black Micron 08 to add a Printemps spiral to the middle of each triangle and then adds auras to the spiral to fill each triangle. Rick notes this is “a really nice balance between curvy and straight“.
(8:04) Maria adds orbs to the spiral rings, again switching between black ink and white depending on the background.
She adds graphite shading (9:36) and white charcoal highlights (10:38), then she uses the white charcoal pencil to add “a fat aura” (11:08) around the outer edge of Ing. When that is smoothed with a tortillion it produces a lovely glow. After she smudges more white charcoal over that area, she goes back into it with a black Micron and adds more Printemps spirals.
And the final image of Maria’s mini-journal page shows that she’s added some “ghosted” Printemps spirals to the white background to balance their counterparts in the black background.
Day 7
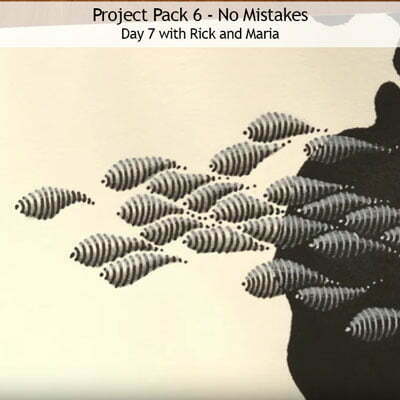
(August 14, 2019) In Day 7’s video (7:17) with Maria keeping him company Rick tangles Indy-Rella, “it is one of the very few tangles where none of the strokes touch.” This sweet Zentangle-original tangle was deconstructed by CZT Molly Hollibaugh, “Indy-Rella came by its name because Molly’s daughter Indy’s favorite toy at the time was Cinderella”.
Using the techniques we’ve been exploring in the previous videos of this Project Pack series, Rick begins with a black Sakura Micron 08 pen and alternates with the white Sakura Gelly Roll to tangle Indy-Rella and then uses graphite and white charcoal to add shading and highlights to the page.
Day 8
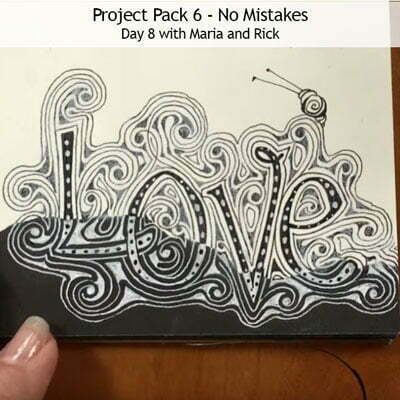
(August 15, 2019 ~ Maria’s Birthday!) In Day 8’s video (20:14) Maria takes us through an example of a Zentangle embedded letter.
She shows how after the letter forms are drawn and “sculpted” with the pens, the letter is then embellished with a simple repetition of Fescu tendrils, then auras, then rounding – and “rinse and repeat“. Bijou makes an appearance at the very end.
Wrap Up
(August 15, 2019) In the concluding video in the Project Pack 6 Series (20:58) Rick and Maria share pages from the mini-journals created by Martha, Molly, and Julie as well as their own creative experiments for this Project Pack.
As they view the lovely and inspirational pages they muse about the “no mistakes” philosophy, learning from your “mistangles“, and developing your creativity.
Maria’s mini-journal is the final one and we are taken page by page through her wonderful creative — and uniquely Maria — experiments with the black-on-white and white-on black challenges of the Project.
And there you have it. This recap of Zentangle’s Project Pack #06 will make it easy for you to find all the related videos.
Remember the images above are linked to their YouTube video, simply click the image to go to the video.
For future reference you can locate this post on the TUTORIALS and the VIDEO tabs in the pink alphabetic tangle menu bar.
For a complete list of Zentangle’s Project Packs click the PROJECT PACKS link in the pink alphabetic tangle menu bar.
|
.oOo. |
|
Enhance your Zentangle experience while supporting TanglePatterns: |
|
CURRENT EDITION! TanglePatterns.com TANGLE GUIDE, 2025 Edition |
|
 |
The 14th Edition of the TanglePatterns.com TANGLE GUIDE is an instant-download 117-page interactive digital eBook/PDF containing over 2,000 tangles on the site from May 2010 through December 31, 2024. It's a great resource and a must-have digital tool for using the site. Visit the STORE > E-BOOKS page and help keep TanglePatterns.com going by getting your copy now! |
|
"Linda, Thank you! I was relying on too few and getting stuck after 3 years of daily working with Zentangle. This has inspired me to ‘begin again’ with renewed excitement." ~ Barbara R. |
|
| See the BOOK REVIEWS page for more details on its features and view a sample page. Note: this is a digital product you download immediately when you place your order, nothing will be physically mailed to you. | |
| If you're new to Zentangle® and tangling, my TanglePatterns.com BEGINNER'S GUIDE TO ZENTANGLE is just what you need to get started. Also available en Français and en Español. | |
|
|
|
 |
This is the only Zentangle book you'll ever need: the fabulous Zentangle PRIMER Vol 1. It's your CZT-in-a-book by the founders of Zentangle®. Visit the STORE tab on the top menu bar or click on the image. For more about the content and to read the rave reviews, visit the BOOK REVIEWS tab. |
| Now available in KINDLE format for $9.99. Spanish Edition here. Japanese Edition here. | |
| "Absolutely the best Zentangle Book yet! As an accomplished artist I used to think I did not need instruction on this art form. How wrong I was! My tangling improved by leaps and bounds after reading this book. If you think you have Zentangle down then you need this book more than ever!" ~ Kris H | |
|
|
|
|
.oOo. |
|






Linda, thank you so much for this information. I really appreciate knowing the paper size used for this little journal. I’m on a very tight budget and am going to be making my own journal to spill black ink on and then tangle. 😀 I’ve been following the whole series on YouTube and now I want to follow along with my own art supplies. I have everything I need and won’t need to buy a thing. This looks like so much fun!