 Today I have a creative tutorial treat for you!
I’m delighted to share Spanish CZT María Tovar’s “técnica seca” dry technique for tangling which she demonstrates in a series of photos of the steps.
María also includes a gallery of gorgeous Zentangle® tiles to inspire you to explore her inkless tangling technique.
Here’s María …
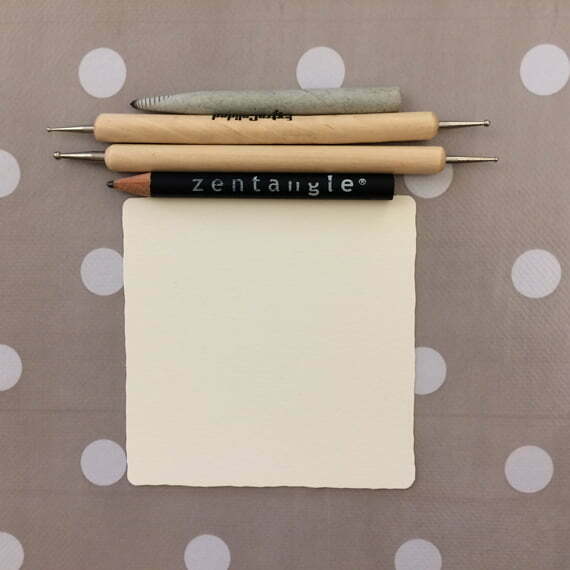
Step 1. Gather your supplies
You are going to need a white Zentangle tile, a stylus (an old ballpoint pen that’s run out of ink will also work), a Zentangle graphite pencil and a tortillion. And a clean finger tip! (Linda’s note: if you try this on a black Zentangle tile, you’ll need a White Charcoal pencil.)
Step 2. Tangle with the stylus
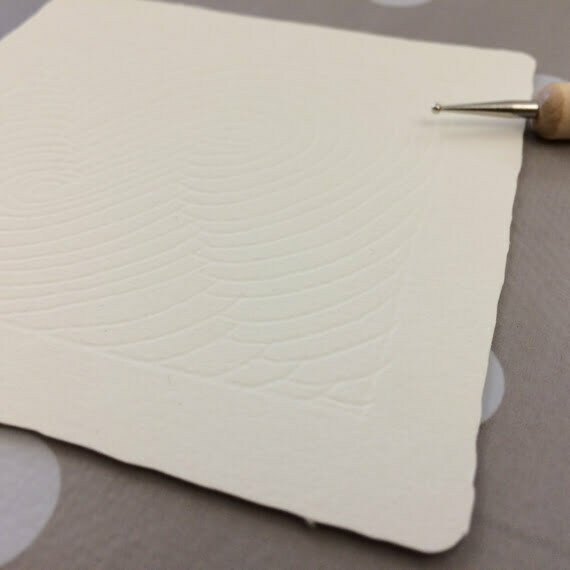
Tangle on your tile using the stylus, or an empty ball point pen. And don’t worry at all. Remember: no mistakes.
Step 3. Make a graphite palette
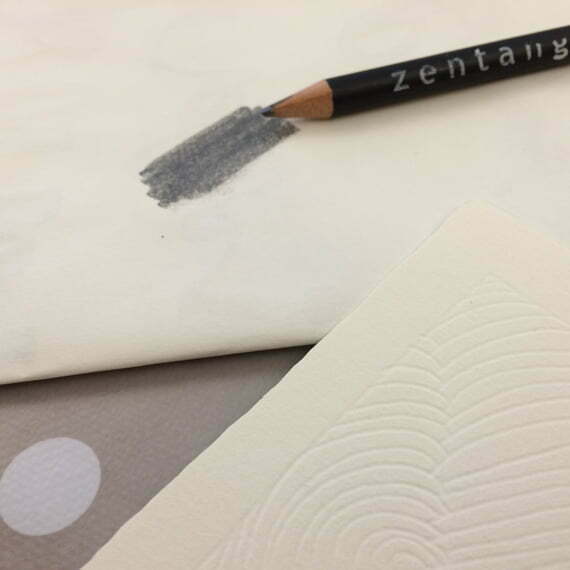
On a scrap piece of paper, make a small “puddle” of graphite with your pencil.
Step 4. Use your finger
Pick up a little of the graphite puddle by rubbing gently with your clean finger tip.
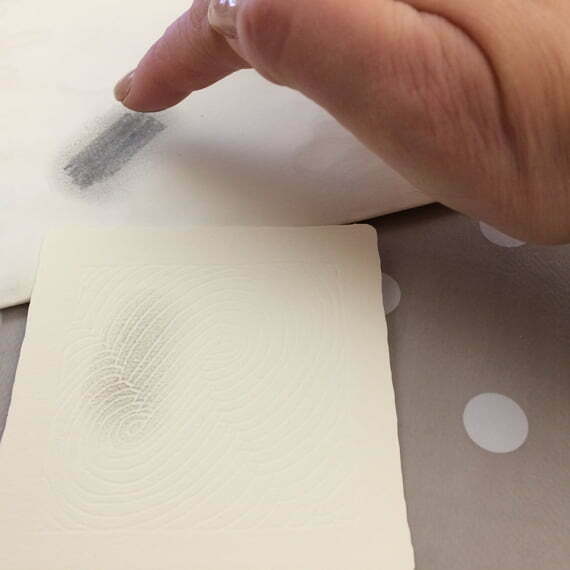
Step 5. Transfer graphite to the tile
Using a light touch, gently spread the graphite onto your tile just until you can clearly see the lines you inscribed in Step 2.
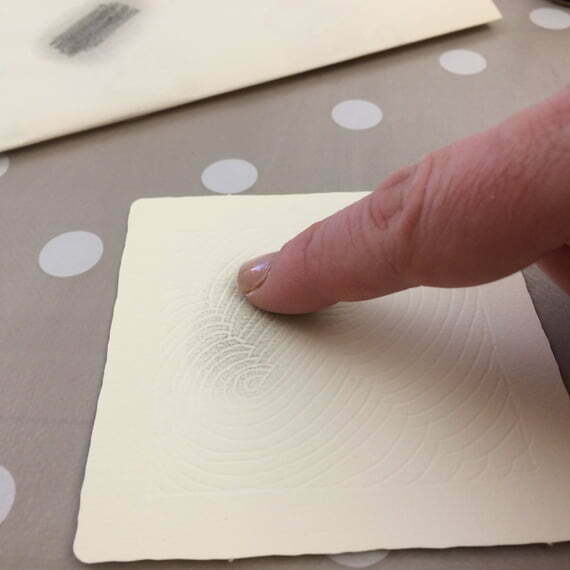
Step 6. Cover the tangle(s)
Lightly cover the whole inscribed area with graphite. Don’t rub too hard because you don’t want to push the graphite into the inscribed lines.
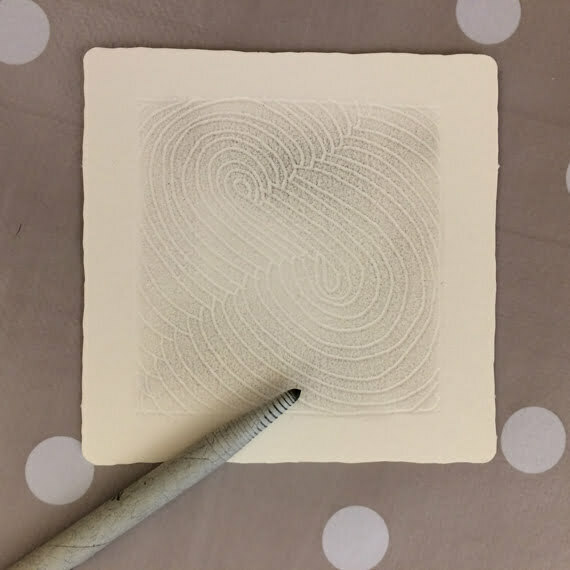
Step 7. Blend with the tortillion
Using your tortillion, begin to blend the graphite as desired. If you want a little more graphite in any area, you can pick it up from the puddle using the tortillion.
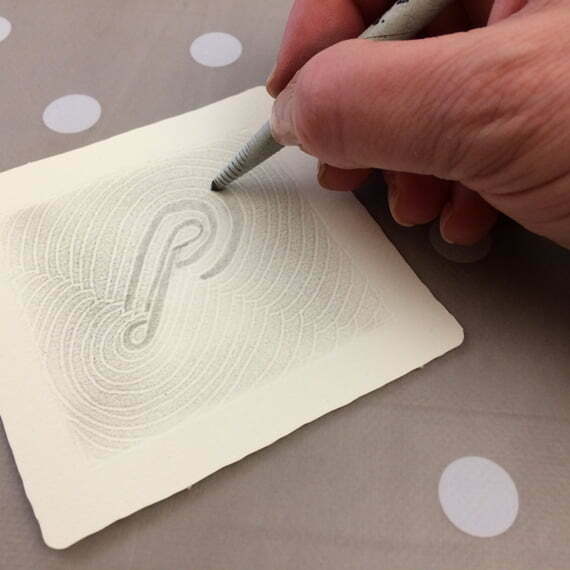
Step 8. Add drama with your pencil
When you have finished blending, add a little more graphite directly with your pencil to create drama or contrast in some areas.
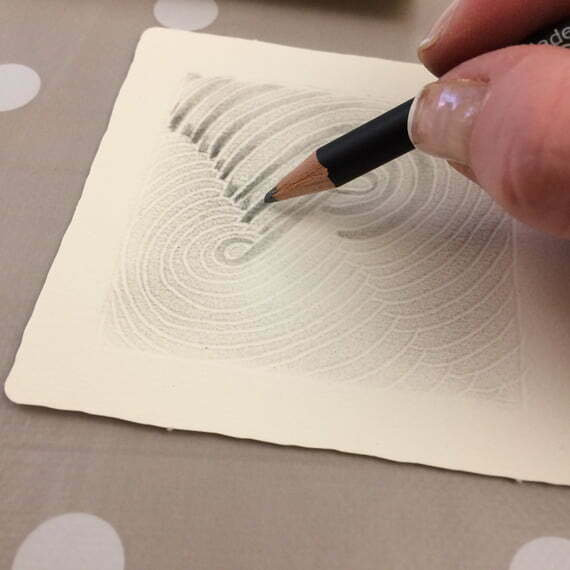
Step 9. Blend again
Blend the new graphite with the tortillion again to create nice smooth transitions between dark and light.
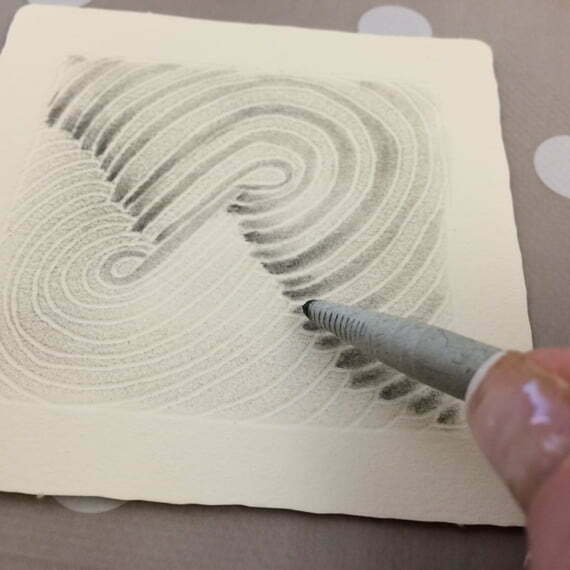
Step 10. Adding Sparkle
You can add the Sparkle tangle enhancer using an eraser.
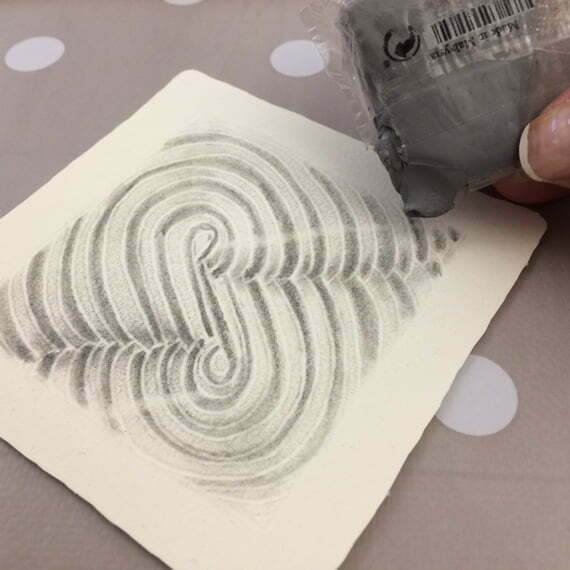
The beautiful end result!
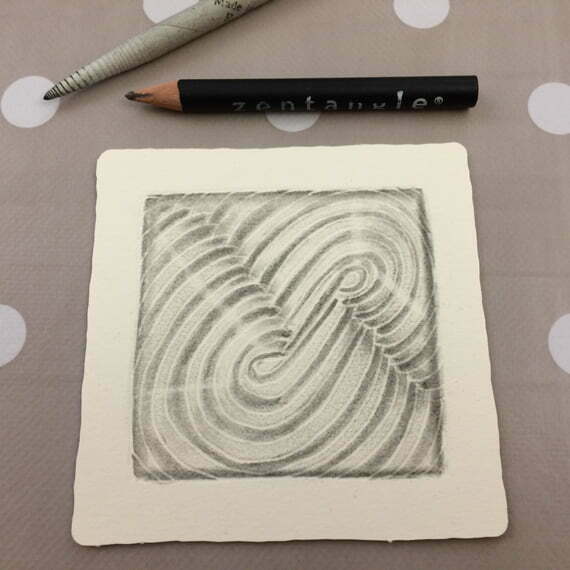
Maria’s Gallery of Tiles
Example #1:
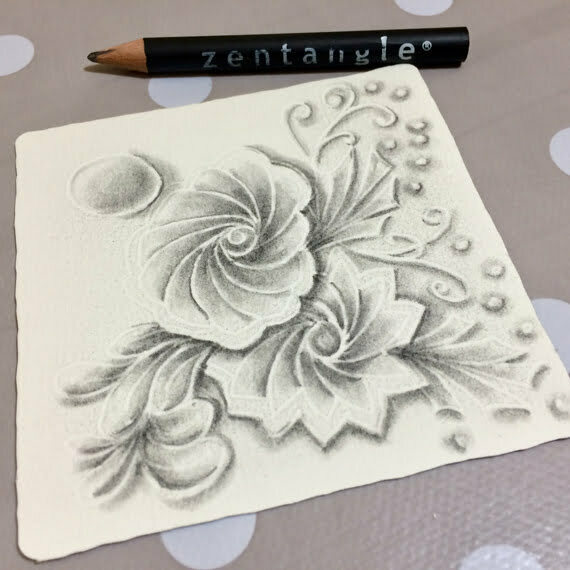
Example #2:
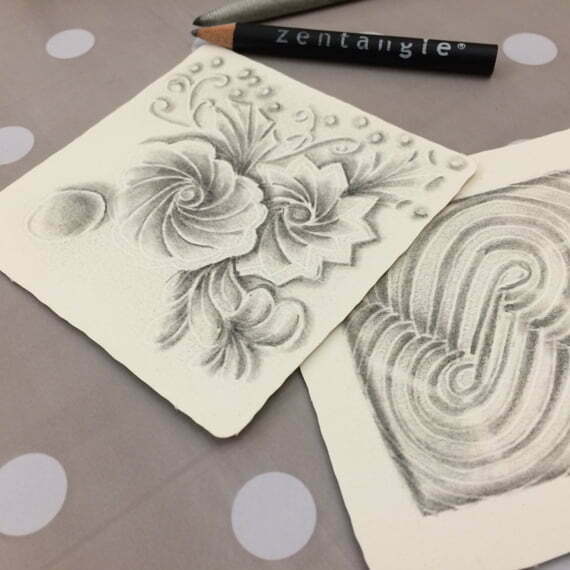
Example #3:
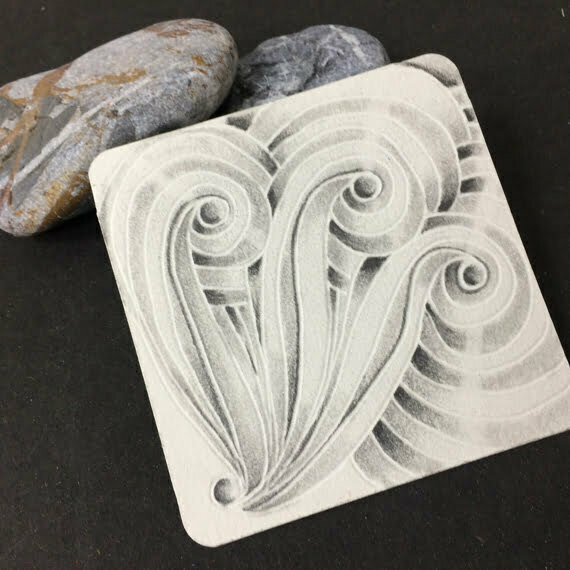
Example #4:
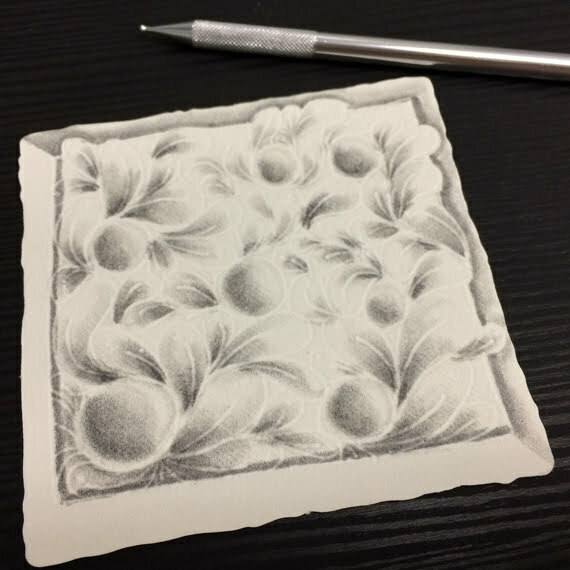
Example #5:
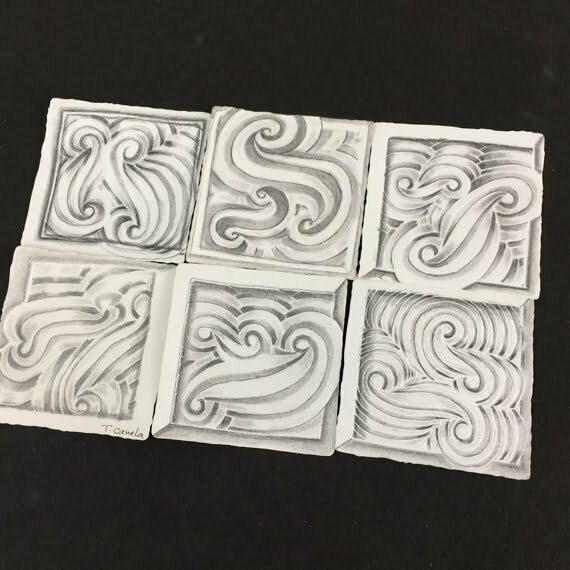
Example #6:
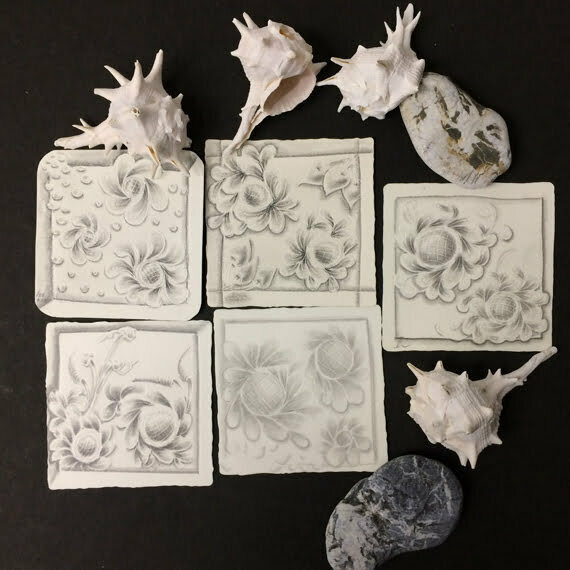
Example #7:
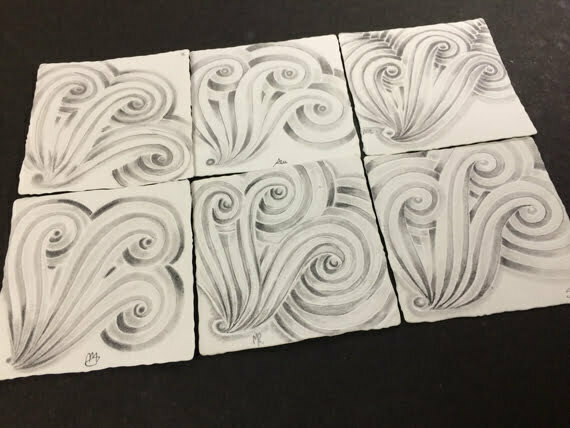
Example #8:
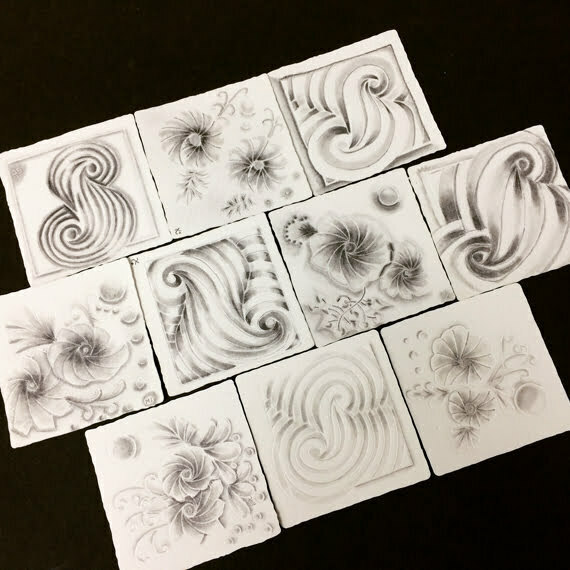
Last one! Example #9:
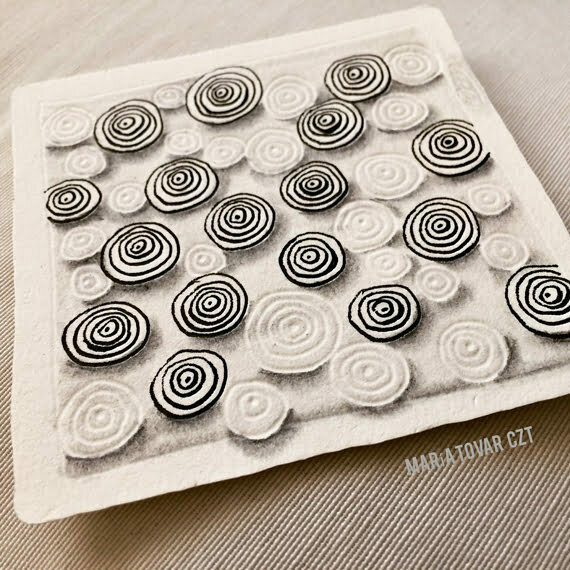
Paired with a regular Micron, a monotangle of the Zentangle-original Sez.
* * *
 Meet María Tovar, CZT
I have a Zentangle school in Madrid, El último tangle, which is the first Zentangle school in Spain.
We teach Zentangle, brush lettering, creative backgrounds for artistic works, creative watercolor, shading for Zentangle… and a lot more workshops in which people can learn creative techniques to improve their art, because as I always say “everybody has an artist inside, you only have to discover it”.
I hope you enjoy this technique!
* * *
Thanks so much, María for sharing your dry tangling technique with us, expanding our Zentangle creativity. What a great addition to our TUTORIALS resource! #inklesstangling
Check out the tag mariat for María’s tangles and her tutorial on TanglePatterns.com.
|
.oOo. |
|
Enhance your Zentangle experience while supporting TanglePatterns: |
|
2025 EDITION! (2026 COMING SOON) TanglePatterns.com TANGLE GUIDE, 2025 Edition |
|
 |
The 14th Edition of the TanglePatterns.com TANGLE GUIDE is an instant-download 117-page interactive digital eBook/PDF containing over 2,000 tangles on the site from May 2010 through December 31, 2024. It's a great resource and a must-have digital tool for using the site. Visit the STORE > E-BOOKS page and help keep TanglePatterns.com going by getting your copy now! |
|
"Linda, Thank you! I was relying on too few and getting stuck after 3 years of daily working with Zentangle. This has inspired me to ‘begin again’ with renewed excitement." ~ Barbara R. |
|
| See the BOOK REVIEWS page for more details on its features and view a sample page. Note: this is a digital product you download immediately when you place your order, nothing will be physically mailed to you. | |
| If you're new to Zentangle® and tangling, my TanglePatterns.com BEGINNER'S GUIDE TO ZENTANGLE is just what you need to get started. Also available en Français and en Español. | |
|
|
|
 |
This is the only Zentangle book you'll ever need: the fabulous Zentangle PRIMER Vol 1. It's your CZT-in-a-book by the founders of Zentangle®. Visit the STORE tab on the top menu bar or click on the image. For more about the content and to read the rave reviews, visit the BOOK REVIEWS tab. |
| Now available in KINDLE format for $9.99. Spanish Edition here. Japanese Edition here. | |
| "Absolutely the best Zentangle Book yet! As an accomplished artist I used to think I did not need instruction on this art form. How wrong I was! My tangling improved by leaps and bounds after reading this book. If you think you have Zentangle down then you need this book more than ever!" ~ Kris H | |
|
|
|
|
.oOo. |
|




Wow, Maria! This is sensational. Fantastic tiles with this technique. Congrats
Maria thank you so much for sharing this with us! I have wondered how you created these amazing tiles and cannot wait to try this. What a beautiful and creative technique. Thank you!!
ooh, this looks like fun! Thanks for sharing, Maria and Linda!
Dear Maria,
Beautiful! Just when I think “there is nothing new under the Sun” you bring this fascinating technique to us all!
How great is it that we can share things like this on Tanglepatterns.com! Thanks to Linda for continually enriching our resources! Mary
What a wonderful idea. Such pretty results. Great job, Maria.
Way to go! I love it. Will have to give it a try.
Thsnks for sharing your new idea.
BJ
Absolutely stunning! Maria, I really appreciate your sharing this brilliant technique with our community. I can’t wait to try it! Thank you, Linda, for all the inspiration you provide,
Maria! What a marvelous technique! I love the subtlety of the various shading styles you have created. Graphite has so many different applications and this of yours is simply wonderful. THank you so much for sharing:)
This is a wonderful technique Maria!! I will really enjoy doing this. I’ve been using stippling to do my tangles for a series I’m doing and this will be a wonderful way to do some other tiles so I’m not using ink at all!!! How much fun can we have? 😀 And thank you Linda for posting this.
This is fascinating! Will try it.
this is amazing! I saw your post on FB with that Sez tile, and wondered how you made it look embossed! Well, now I’m excited to give it a try. Looks terrific!
One idea can spark a thousand! That’s what you created Maria with your new technique. Thanks so much for sharing. The internet will be filling up soon with everyone’s new ideas i’m sure! Matt (aka Mattski1208 on Instagram)
Very, very cool! I’ve used this idea with colored pencils and will have to try it with tangling… eventually!
Absolutely fantastic. Like Margaret, I’ve used this but never thought to use it in Zentangle. Thanks for the tutorial. Maria (Thomas).
Wonderful tutorial, thank you very much Maria!!!
This is so excitingI thank you Maria for sharing this with us. You opened up a whole new avenue of creativity for us to explore.
As always, Linda, thank you for your website and hard work which allows us to learn so many art forms in one spot.
Nancy
Very creative! This looks like fun – thanks for the very clear tutorial.
Thanks everybody for your nice comments! I’m glad you like it, and hope you enjoy trying your own style. Looking forward to seeing your tiles. Thanks again Linda for sharing my idea on Tangle Patterns. I’m honored!
Very interesting. Can’t wait to try it. I see many possibilities.
Just when you think you’ve seen it all…..
Thanks María, for your wonderful idea
I bet a small crochet hook will work, also, in place of a stylus!
Interesting idea, Ginger. As long as the tip is rounded so it doesn’t rip the paper, it could work!
Yes, I used a small steel crochet hook to try this out. It worked okay, but I need to use one of the larger steel hooks (like a 0 or 00 ) to get the basic tangle down, then a smaller one to do the smaller details. I’m still working on this. I’ll let you all know how it works. 🙂
Such a cool and beautiful idea, loved it
Wow. Just Wow. So simple but such impact! Awesome.
Thank you María, love your tutorial!
Maria, this is beautiful. I will be trying it. Thank you for sharing.
I have used this technique in the past and really enjoyed it. I am going to do it again. Thank you for the reminder. Maria, your tiles are beautiful! Linda, thank you for the idea of using a black tile with white charcoal pencil. That would be really pretty. Going to try that.
These are beautiful. I will have to give the technique a try. Thanks so much for sharing.
Thank you for taking tangling to a new level. This looks like so much fun. I’m going to try it with some makeup shadows to see if I can coordinate some color into it.
This is lovely … sometimes one wants a soft effect without lines. thank you for sharing.
Oh, YES! What an lovely technique. I’ll challenge folks to post their experiments on Zentangle’s Mosaic app with the tag #inkless embossing. Let’s share this for enhancing our inspiration. Much as gracias Maria.
Thanks Sue. From what I understand about hashtags is they don’t work if they have punctuation or spaces. So I recommend folks use #inklesstangling #technicaseca
Oh yeah! I almost forgot about this technique. You can also use a small steel crochet hook to do these, which I did at first because I didn’t have a stylus and then couldn’t find a small ball stylus. Either way works great. Thanks for bringing this back in your refresher Linda! I will try this again today! 🙂
Thanks for the correction. I’m a bit new to hashtagging…
Thanks for this different look to a tangle! Gives a delicate soft effect!
WOW What a fantastic new way to tangle! Thank you for sharing your truely wonderful talent.
What a great technique! Very clever and mysterious. I will have to try this soon!
This is very cool and amazing!
Just discovered this tutorial thanks to the Tangle Refresher and I am thrilled! I’m gathering up my materials to explore this technique today <3